
Painting Over Finished Wood Furniture: A Complete Guide
Transform a sealed, varnished, or lacquered piece into a fresh statement without stripping it down to bare wood. This guide covers prep, primer, paint, and curing so your finish lasts for years.
Why this matters: Finished wood furniture, whether a dresser, chest of drawers, or nightstand, has a protective topcoat that repels paint. Understanding how to bond to that surface is the difference between a finish that peels in months and one that holds up for a decade.
Understanding Finished Wood Surfaces
Finished wood furniture carries one of several topcoats: polyurethane, lacquer, varnish, shellac, or a factory-applied conversion finish. Each behaves differently under paint. Polyurethane and lacquer are the most slick and require the most prep. Shellac is more forgiving but can bleed through some paints. Factory finishes on mass-market pieces are often the hardest to bond to because they are baked on and highly resistant.
The key principle is mechanical and chemical adhesion. You need to create a surface that paint can grip, then use a primer designed to bridge the gap between a sealed surface and your topcoat. If you are working with a piece that has already been painted and you want to change the color, the same prep rules apply but you also need to address adhesion of the existing coating.
For related projects, see our guide on repainting painted wood furniture and painting old furniture without sanding.
Tools and Materials You Need
- Deglosser or liquid sandpaper (no-sand prep solution)
- Fine-grit sanding sponge (220-grit) for scuff sanding edges and profiles
- Tack cloth and clean rags
- Bonding primer (shellac-based or urethane-acrylic)
- Water-based acrylic-alkyd enamel or 100% acrylic paint
- High-quality synthetic brush and a small foam roller
- Painter's tape and drop cloths
- Stir sticks and a paint tray
- Respirator and ventilation for primer and paint fumes
Quality tools matter more than tier labels here. A mid-range brush holds its edge and lays off brush marks better than an entry-level one, and a bonding primer is the single most important material in the process.
Step-by-Step: Painting Over Finished Wood
Step 1: Clean and Degrease
Wash every surface with a degreasing cleaner to remove oils, polish residue, and kitchen or hand grime. Rinse with a damp cloth and let it dry fully. Paint will not bond to grease, no matter how good the primer is.
Step 2: Degloss and Scuff
Wipe the piece with a liquid deglosser, following the product directions. This softens the topcoat and creates a tooth for the primer. On edges, corners, and detailed profiles, use a 220-grit sanding sponge lightly. You are not removing the finish, only dulling it. Wipe away dust with a tack cloth.
Step 3: Repair and Fill
Fill dents, gouges, and old hardware holes with a sandable wood filler. Once dry, sand smooth and wipe clean. If you are replacing hardware, fill old holes and drill new ones after the paint has cured to avoid chipping.
Step 4: Apply Bonding Primer
Apply a thin, even coat of bonding primer. A shellac-based primer offers the strongest grip on slick finishes, while a urethane-acrylic primer is more user-friendly and low-odor. Use a brush for edges and a foam roller for flat panels. Let it dry per the label, then scuff lightly with 220-grit and wipe clean. One coat is usually enough, but a second coat improves coverage on dark or glossy surfaces.
Step 5: Paint in Thin Coats
Stir the paint thoroughly. Apply the first coat with a brush on edges and a roller on flat surfaces, working in small sections and maintaining a wet edge. Thin coats bond better and dry harder than thick ones. Let the first coat dry fully, then scuff lightly with 220-grit to knock down any texture. Apply a second coat. For a smooth, furniture-grade finish, a third thin coat may be needed on high-traffic areas.
Step 6: Cure Properly
Water-based paints dry to the touch in hours but cure over 7 to 14 days. Avoid placing heavy objects on the surface during this window. Low humidity and good airflow speed curing. If you need extra durability, apply a water-based clear topcoat after the paint has fully cured, though most acrylic-alkyd enamels do not require it.
Common Mistakes to Avoid
- Skipping deglossing: Paint will peel off a glossy finish within months.
- Using the wrong primer: A standard drywall primer will not bond to sealed wood. Use a bonding primer.
- Painting too thick: Thick coats trap solvents, stay soft, and chip easily.
- Painting in humid or cold conditions: Check the label for temperature and humidity limits.
- Reassembling too soon: Drawers and hardware can mar a soft finish. Wait for full cure.
If you are working on a piece that has already been painted and you want a different look, our refinishing a dresser with paint guide walks through layering and color changes. If you want the natural wood to show through, see painted dresser with wood top and painted dresser with wood drawers for two-tone approaches.
Choosing the Right Paint Finish
Sheen affects both durability and appearance. A satin or semi-gloss finish is easier to clean and more scuff-resistant, which suits dressers and chests that see daily handling. Matte and eggshell finishes look softer and hide imperfections better, but they show fingerprints and wear more quickly on high-touch edges. For a balanced result, satin is the most versatile choice for finished wood furniture.
Color choice matters too. Lighter colors hide dust and scratches; darker colors show every mark and require a flawless prep. If you are painting a piece for a nursery or child's room, a durable satin or semi-gloss enamel with a low-VOC formula is a practical choice. Browse our nursery dressers section for inspiration on kid-friendly finishes.
When to Sand vs. When to Degloss
Full sanding to bare wood is only necessary when the existing finish is failing, flaking, or incompatible with your chosen paint. In most cases, deglossing plus a bonding primer is sufficient and far less labor-intensive. Sanding is the right call when you need to remove a bleeding stain, repair water damage, or change the color of an already-painted piece where adhesion is suspect. A hybrid approach works well: degloss the whole piece, then sand only the areas that are chipped, peeling, or glossy beyond what the deglosser can handle.
Recommended Paints, Primers & Prep Supplies for Finished Wood
⚠️ AFFILIATE DISCLOSURE: This website contains affiliate links. As an Amazon Associate, we earn from qualifying purchases. If you make a purchase through these links, we may receive a small commission at no additional cost to you. Read our full affiliate policy.
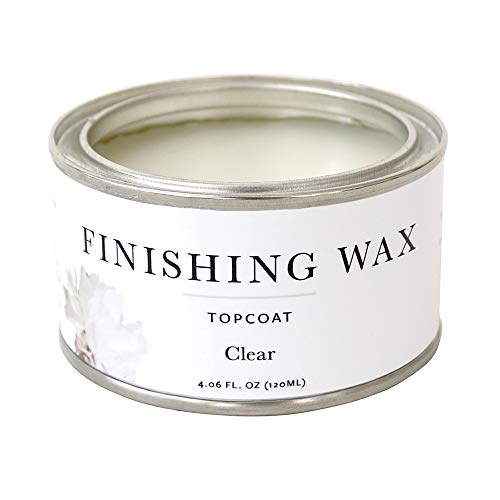
Jolie Finishing Wax - Protective topcoat Paint - Use on interior furniture, cabinets, walls, home decor and accessories - Odor-Free, Non-Hazardous - Clear - 120 ml
Check price on Amazon
2 in 1 Black Furniture Paint & Primer, 35 oz Black Paint for Wood, Cabinet | Smooth Matte Black Wood Paint For Dresser, Table,Chair,Shelf,Door,Craft,Water-Based,Low Odor,Durable - Brush Roller Prep Tool
Check price on Amazon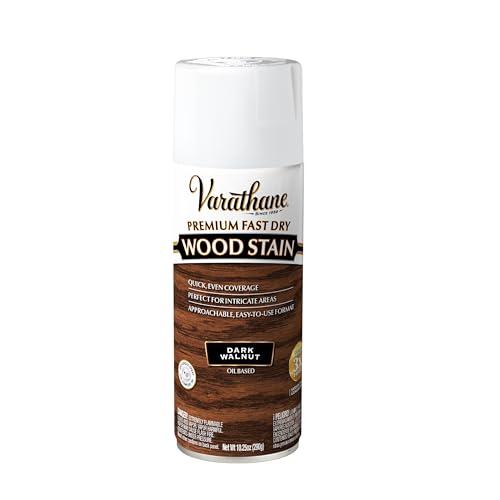
Varathane Premium Fast Dry Dark Walnut Wood Stain Spray | Interior Wood Projects, One Coat Color, Furniture, Cabinets, Doors And Trim, Dries In 1 Hour, 10.25 Oz
Check price on Amazon
Bluebird Water-Based Polyurethane Clear Coat Sealant for Wood, Gloss 3.4 oz | Furniture Finish & Sealer, Topcoat Over Stain or Paint, Varnish Alternative, Indoor Tables & Cabinets, Crafts, Fast Drying
Check price on Amazon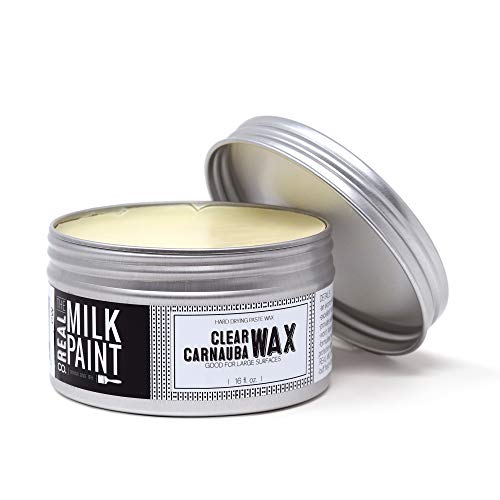
Real Milk Paint, Carnauba Wax Paste, Wood Wax for Wood Finishing, Use over Milk Paint, Wood Furniture, Kitchen Cabinets, and Tabletops, Clear, 16 oz.
Check price on Amazon
Giani Wood Look Grain Finish Coat for Front Doors 8 oz. (English Oak)
Check price on Amazon
Rust-Oleum Classic White Milk Paint | Furniture Makeover, Matte Brushed Finish, Minimal Prep Required, Easy Soap And Water Cleanup, Quart
Check price on Amazon
Rust-Oleum Transformations Charcoal Gray Decorative Glaze | Antique Decorative Finish, Cabinets, Furniture & Painted Surfaces, Custom Effects, Quart
Check price on AmazonFrequently Asked Questions
Can you paint directly over finished wood without sanding?
Yes, with caveats. You must degloss the surface and use a bonding primer. Skipping either step leads to peeling. Full sanding is only needed when the finish is failing or you need to remove a stain.
How long does painted finished wood last?
A properly prepped and primed finish on a dresser or chest can last a decade or more with normal use. High-touch edges may need touch-ups sooner. Curing the paint fully before use is essential for durability.
What paint finish is best for furniture?
Satin or semi-gloss acrylic-alkyd enamel offers the best balance of durability, cleanability, and appearance for finished wood furniture. Matte looks softer but wears faster on edges.
Do I need a topcoat over painted finished wood?
Most quality furniture paints do not require a topcoat. If you use a matte or low-durability paint, a water-based clear coat adds protection. Apply it only after the paint has fully cured.
Can I paint over varnished wood?
Yes. Varnish is one of the finishes that responds well to deglossing and a bonding primer. Avoid painting over waxed surfaces without removing the wax first.
Final Checklist Before You Start
- Piece cleaned and degreased
- Surface deglossed and scuff-sanded
- Dents and holes filled and sanded
- Bonding primer applied and cured
- Paint stirred and thinned only if the label allows
- Thin coats applied with a wet edge
- Full cure time observed before use
With the right prep and a bonding primer, painting over finished wood furniture is a reliable weekend project that can modernize a bedroom set, refresh a hand-me-down chest, or coordinate a mismatched dresser with the rest of your room. Take your time on prep and the finish will reward you.